Technology Repair Log

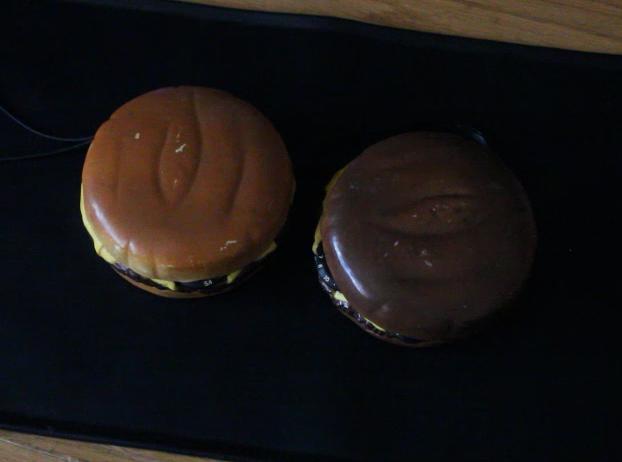
1970's Transistor Hamburger/Cheeseburger Radio Repair #1
Problem:
The 9v connector on the radio was very badly damaged. It was corroded and the connectors for the 9v were disfigured, allowing no possible way for a connection to the radio. Thus, no power supplied to the radio.
Solution: Replace the old 9v connector with a new one.
Troubleshooting:
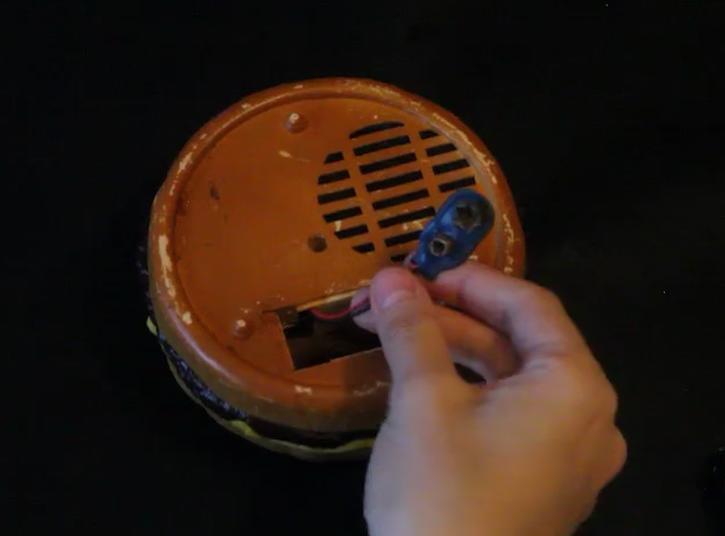
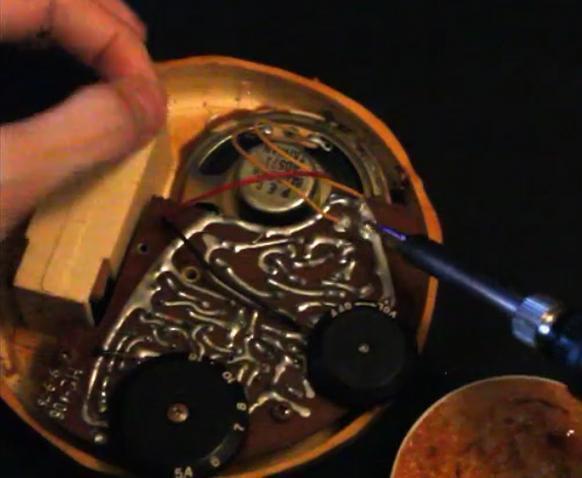
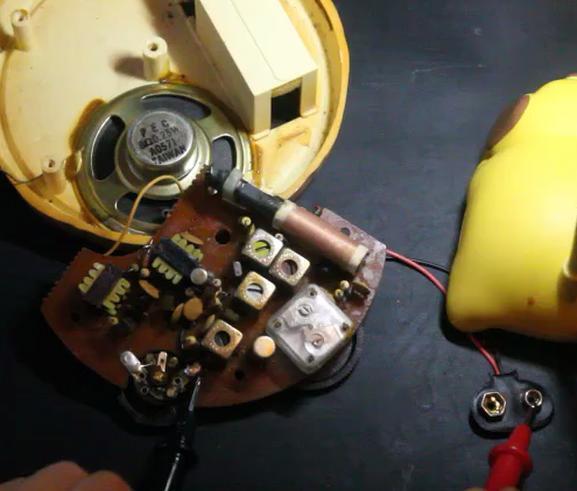
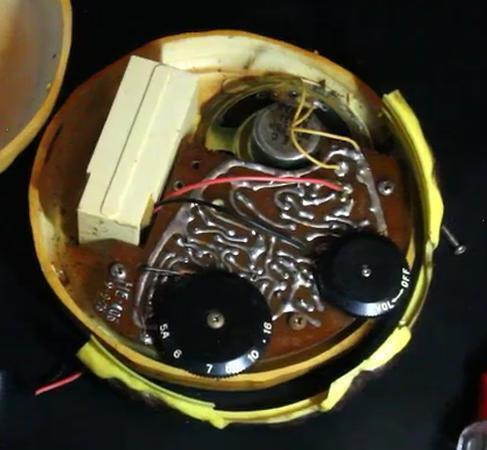
The issue was fairly obvious to me. I took apart the radio (one screw on the bottom of the hamburger). This exposed the PCB.
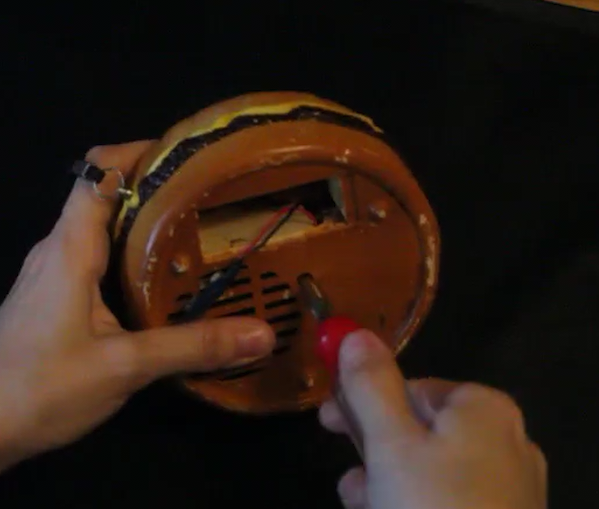
I desoldered the red wire, which was part of the bad 9v connector.
The black wire (which is connected to the 9v connector) also had to be sedoldered. It was located on the bottom of the PCB, so I unscrewed the PCB to access the bottom. Then, I desoldered the black wire.
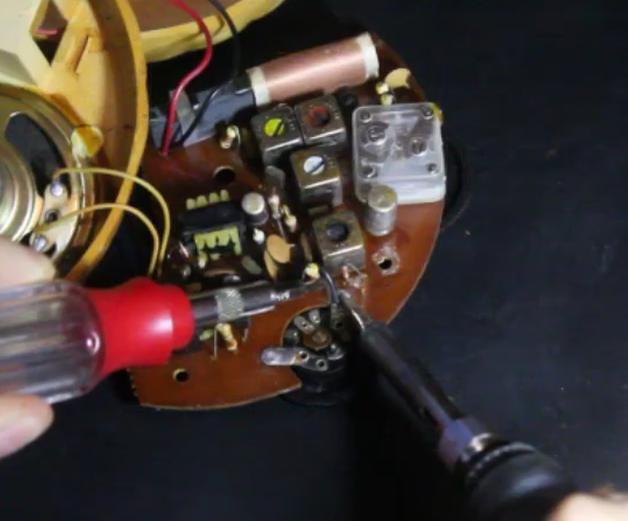
The black wire (which is connected to the 9v connector) also had to be sedoldered. It was located on the bottom of the PCB, so I unscrewed the PCB to access the bottom. Then, I desoldered the black wire.
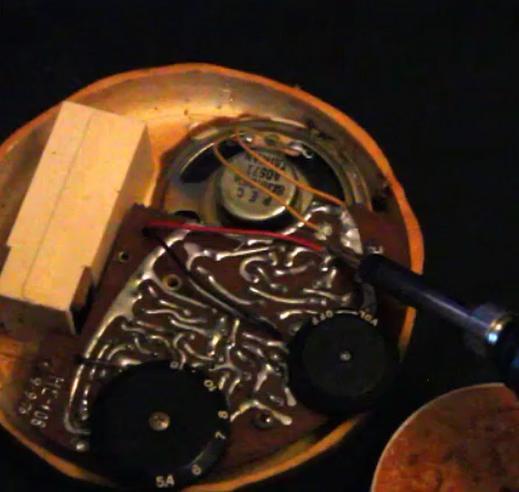
Now the old 9v connector was fully removed and I installed the new 9v connector by soldering the positive and negative wires to the correct areas on the PCB.
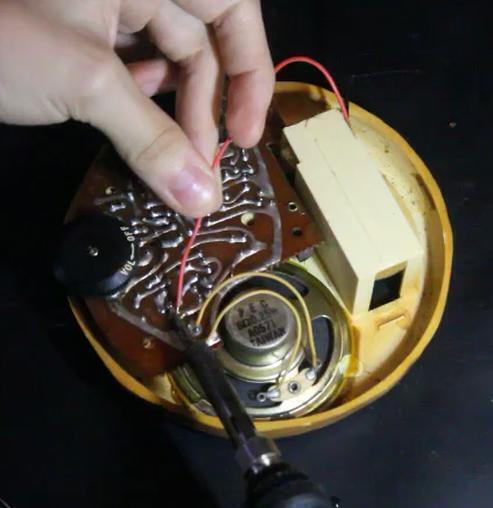
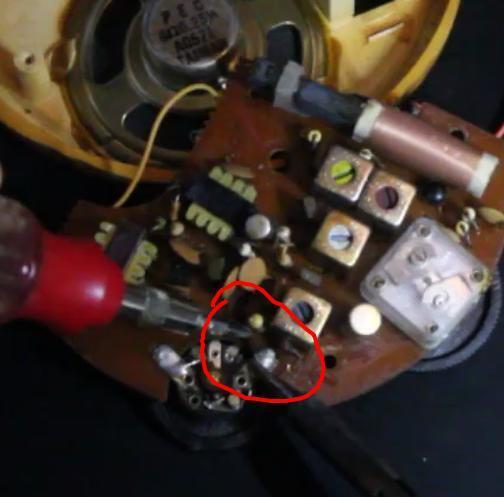
I tested continuity from the new solder to the 9v connector to confirm it was making a proper connection.
I put the radio back together. The hamburger/cheese part goes in BEFORE the PCB. Note that the burger part with the "divets" goes on the side where the dials are.
The 9v connecter is succesfully in and now the radio works.
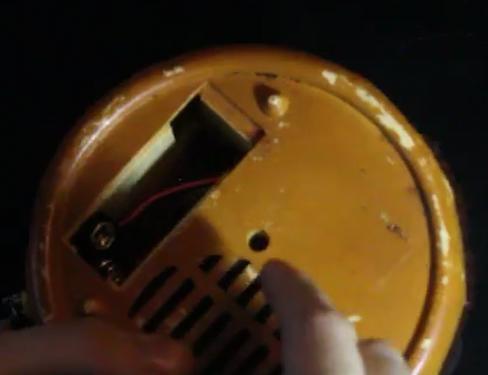
The radio worked once I replaced the 9v connector.
Click here to go back to the log of repaired vintage technology.

 News
News
 Who am I?
 My Monthly Column


 Technology (Tutorials, Opinions, & More)