Technology Repair Log

How to repair a broken cassette tape
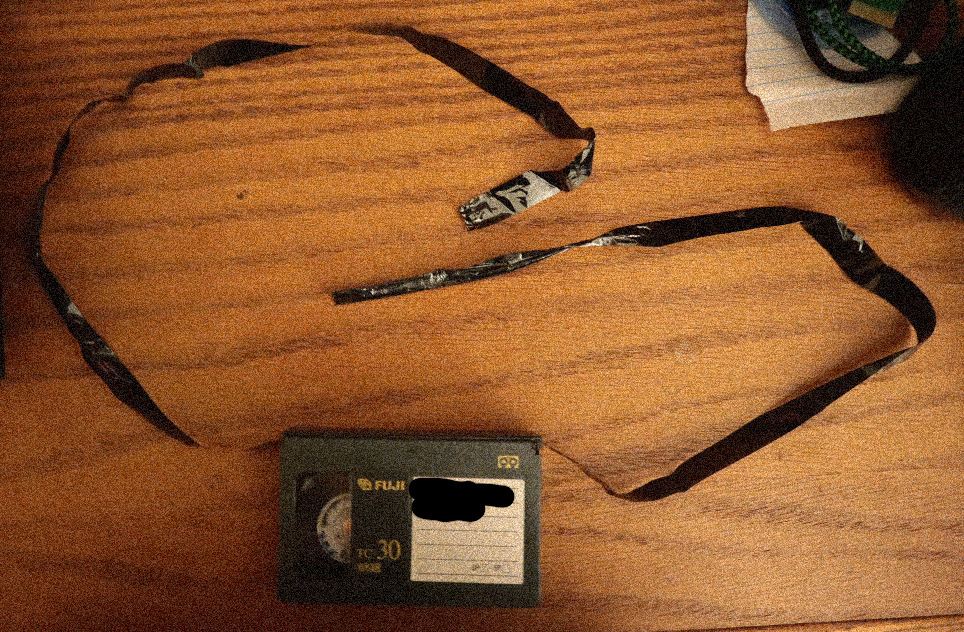
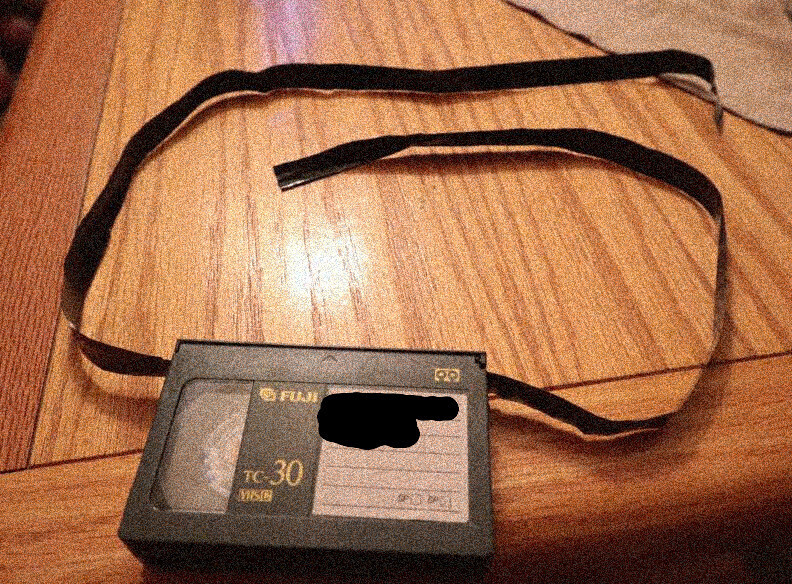
I got a VHS-C tape lot from a thrift store (with a few full sized VHS tapes included). One of the tapes was split in half. Not only was the tape itself broken, but it was also very creased and wavy where the tape was exposed. The exposed tape was wrapped multiple times around the case. The ends of one of the tape was so creased that you could start to see through it, the tape was degrading at that end.
Luckily, most of this tape was salvagable.
Step 1: Straightening out the tape
As I stated, the tape was wavy and very creased in some areas. Before I started to work on straightening out the tape, I first released some more tape by turning the right tape reel (I needed more tape on the right side to work with). Now I was able to start straightening the tape.
To straighten the tape, you will put boiling water into an (ideally ceramic or glass) cup. Use one with no handles - handles will get in the way and make this process harder. The heat on the outter surface of the cup will apply enough heat to straighten the tape, but not so much heat that it will ruin the tape.
Tip: Pour the water into the cup first, then pour that water into a small pot to boil. This will give you the perfect amount of water you'll need for your cup without boiling too little or too much water. Since the cup doesn't have a handle, do not carry the cup with your bare hand. Use fabric (such as your shirt or a cloth like a hand towel) to carry the cup. The cup's surface will be too hot to hold with your hand.
Disclaimer: Wash your hands with soap to remove oils from your fingers before messing with the tape.
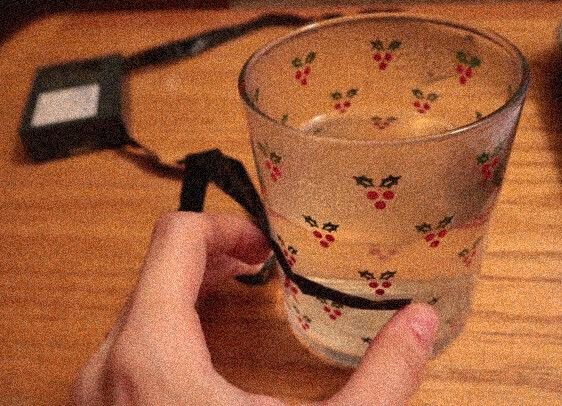
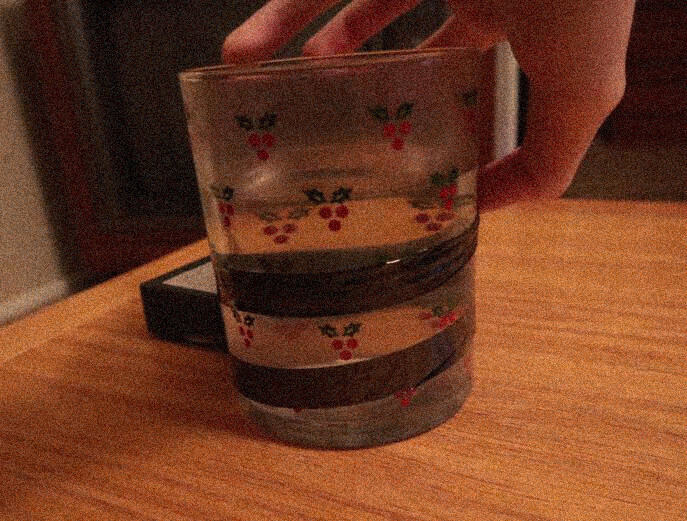
Hold a small section of the tape against the cup. Be careful if the cup is too hot. You can hold the tape to the cup with a thin cloth if it's too hot, which is what I had to do for a minute until the water cooled down. You will have to hold heavily creased areas for a while, it takes a long time for the crease to lessen. More severe creases may not fully smooth out. I had plenty of areas that I was able to lessen the crease, but not get it fully smooth. As long as it's generally smoothed and straightened, it should be OK. Rub your (oil-free) thumb onto the tape while it's on the hot mug in order to smooth it out better. Direct held-on pressure will help it smooth out more. Be gentle yet firm, like if you had a gay son you were trying to straighten out. You can also wrap the entire exposed tape around the mug to generally try and smooth it out, however, going in smaller sections will work better. I started by tackling the more severe parts, then ended it by wrapping the entire tape around to smooth out.
If you have parts of the tape that are creased together or curled in, smooth out very small sections with your thumb and continue to hold to the mug. Once the curling has lessened, move onto the next small section. Be careful to not cement in new or existing creases by holding a creased section to the cup. Only hold a creased section to the cup when you're applying correct pressure to the area when straightening it out with your thumb. Holding a creased section with no attempt to straighten it out will cause the crease to be cemented in further.
Your water may get cool, I had to re-heat the water 3 times during this process. Hotter water will generally work better, so tackle the more severe parts when the water is hotter.
Some portions of your tape may be unsalvagable. The very ends of this tape were disintergrating. While I would have really liked to have saved those parts, I was afraid that they may break when going through the supply/takeup reels or pinch roller in the VCR, possibly causing more damage to the tape. I cut the ends that were too far deteriorated.
Note that your tape may not be completely straightened out. That's fine, generally working out the severely crimped areas is the most important. My tape was not fully straight, but it was as good as I was going to get it. When the tape is wound back into the case, it will straighten out over time.
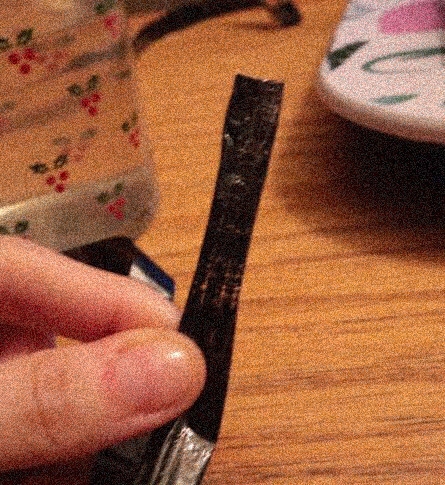
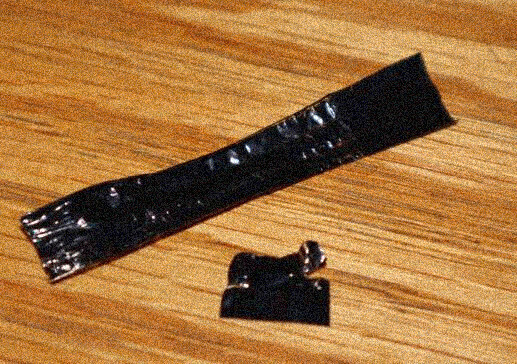
Here is a before (left) and after (right) of the tape. You can tell a great difference.
Part 2: Reconnecting the tape together
Make absoloutely sure the tape on both ends are straight, not twisted. This is massively important for reconnecting. If you reconnect them when they are twisted, it will be a mess and incorrect.
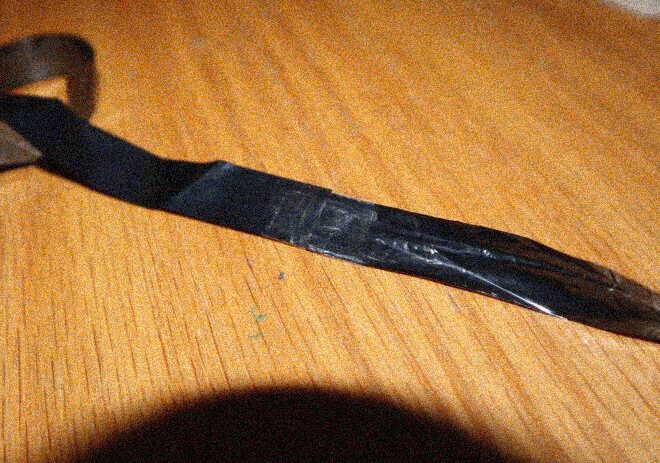
Once both ends of the tape are laid out correctly (not twisted), place the ends near each other. Cut a small piece of Scotch tape (cut the piece as straight as possible). With the ends of the VHS tape together, apply that piece of Scotch tape to connect both ends of the VHS tape. Cut another similarly sized piece of Scoth tape and apply it to the other end of the tape to secure both sides of the newly reconnected VHS tape.
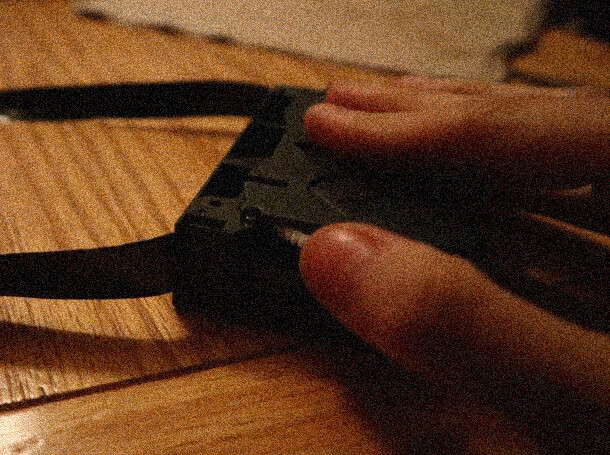
Wind the tape back inside the case by rotating the left spool (note that the correct spool is located on the left when the back of the VHS tape is facing you). This will bring the tape back inside.
After I did this, my tape worked perfectly as intended. Sadly the actual footage on this tape was only a few minutes, with the rest of the tape being blank. This method works for any type of cassette tape, be it a full size VHS tape, VHS-C, or audio cassette.
Click here to go back to the log of repaired vintage technology.

 News
News
 Who am I?
 My Monthly Column


 Technology (Tutorials, Opinions, & More)