


 Technology (Tutorials, Opinions, & More) Technology (Tutorials, Opinions, & More)
 Technology Repair Log Technology Repair Log
Vintage Technology Repair Log

Toshiba VCR Remote (Model VC-613)
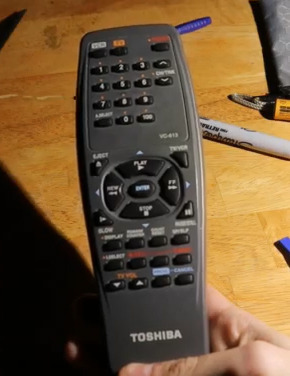
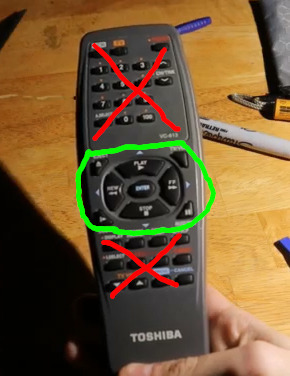
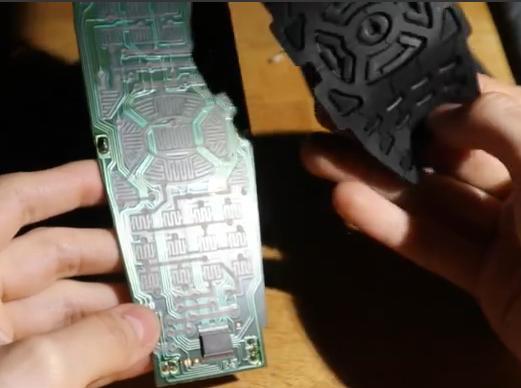
Problem: One day the buttons no longer worked on the top and bottom sections of the remote (as shown in the diagram below). Sometimes the buttons would work, but very rarely. The buttons circled in the middle did work. Overall it was very intermittent regarding how much the buttons responded to touch.
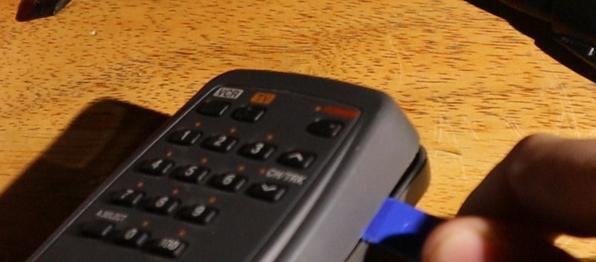
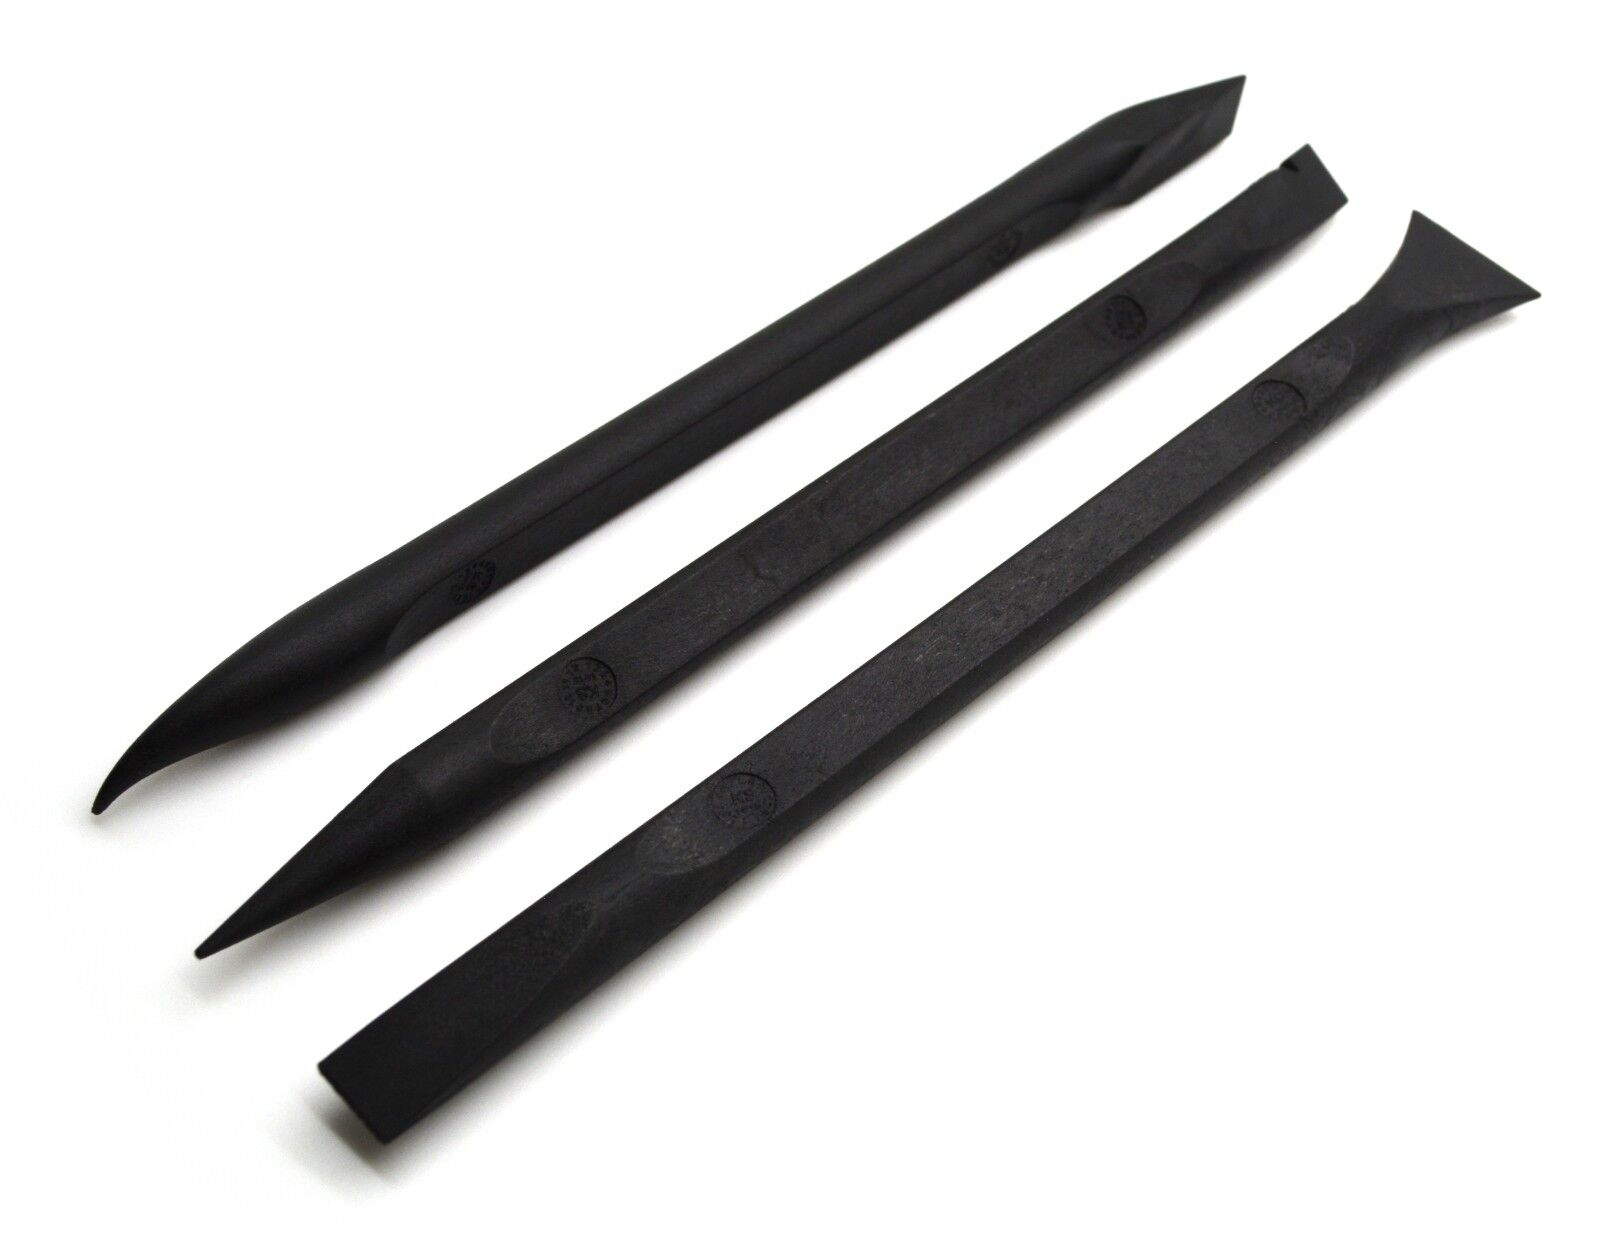
Troubleshooting: I disassembled the remote. The remote has screws, but it is also snapped together interally with plastic clamps. To get apart the remote, you will need to get "spudging tools". These are tools specifically designed to help open up snapped-together devices such as this one. So far I have not broken a snapped-together device. If you have a snapped-together device, do not be afraid to open it.
Solution: After opening the remote I cleaned off the connections on the circuit board with rubbing alcohol. I also cleaned the rubber mat of the remote with alcohol. After reassembling the remote together, it proceeded to work as normal.
Notes: This was a case of dirty contacts, which is very common with remotes. Remote contacts will dirty quickly due to being in frequent contact with oils from our fingers. Cleaning off the circuit may fix your issue. However, if issues proceed, make sure to troubleshoot based on the symptoms you see.
1. I would make sure the battery contacts (where you insert the batteries) do not have corrosion. If they do, remove the batteries and clean the corrosion area with baking soda mixed with water. Scrub with a qtip or tooth brush. Clean the area after.
2. Make sure the IR sensor is functioning correctly. The remote communicated to the VCR via an infrared light, found at the top of the remote. If this light no longer functions or is faulty, you will experience no or varied response to the buttons being pressed on the remote. Human eyes cannot see the IR light. However, cameras can. Point the IR light towards a camera and press a button on the remote. If you see the IR light, the IR is working. If the IR does not light up as you press the button, it doesn't work. Remember, this test only works when being viewed via a camera, as our eyes cannot see IR by itself. You can buy a new IR sensor and replace the one on your remote. This will require soldering.
3. Establish a better connection from the rubber pad to the circuit. There are a few ways to do this.
3. A.) The quickest (but not recommended) way is to use aluminum foil. Cut small pieces of foil into small squares, enough to fix over each button. Then using super glue, gue the foil to the inside of the RUBBER PAD, NOT the circuit board. Now when you press the button, a stronger connection will be made via the aluminum foil touching the circuit. However, super glue can be too abrasive for my liking.
3. B.) Use a small abrasive sandpaper (like a nail file) and rub it against the rubber pad's inside button area. This sometimes can "renew" the pad to expose a better connection from the rubber to the circuit. I assume there's a conductive element made in the button's material and this is why exposing a fresh layer will work. Do not scrape off much, you don't want to ruin the remote.
3. C.) Use a conductive paint. Apply this paint to the rubber pad's inside button area. This will establish a better connection from the rubber to the circuit. This method offers the least amount of permanent damage to the rubber pad and is most recommended.
Remember, never apply anything to the circuit other than rubbing alcohol.
4. Troubleshoot other areas on the circuit board
If issues persist, there may be a component failing on the board. Usually remotes are fairly basic with minimal components. However, you will need certain supplies to test these components, such as a multimeter. A few issues you may run into are broken traces on a circuit board, meaning one component is not able to talk to another component because one of the "traces" (looks like a road going from one component to another) is broken. Typically there may be a scratch going through the trace, interrupting the connection and not allowing the connection to complete. You can determine this by doing a continuity test with a multimeter. I recommend watching videos on how to do this, or you can contact me for help. You can repair broken circuit board traces yourself with soldering. Again, I recommend reading up or watching videos on how to do this. You may also see "cold" solder joints - basically the solder joint is cracked and unable to make a good connection. All you do is apply new solder to the area. This is where learning how to spot cracked solder joints and testing for continuity comes in handy. Last, test each component on the board. How you test each component varies based on the component, so familiarize yourself with each component and how to test them.
You can contact me if you are having trouble with your remote. I am not an expert and only do this as a hobby, but I may be able to provide guidance.
Phone: 725-286-3278
Email: ashleyjones@icum.to
Click here to go back to the log of repaired vintage technology.
|

 News
News
 Who am I?
 My Monthly Column